Outplanr Basics
Outplanr is available at www.outplanr.com
Your company will have a subdomain at www.outplanr.net
Outplanr is organised in the following sections:
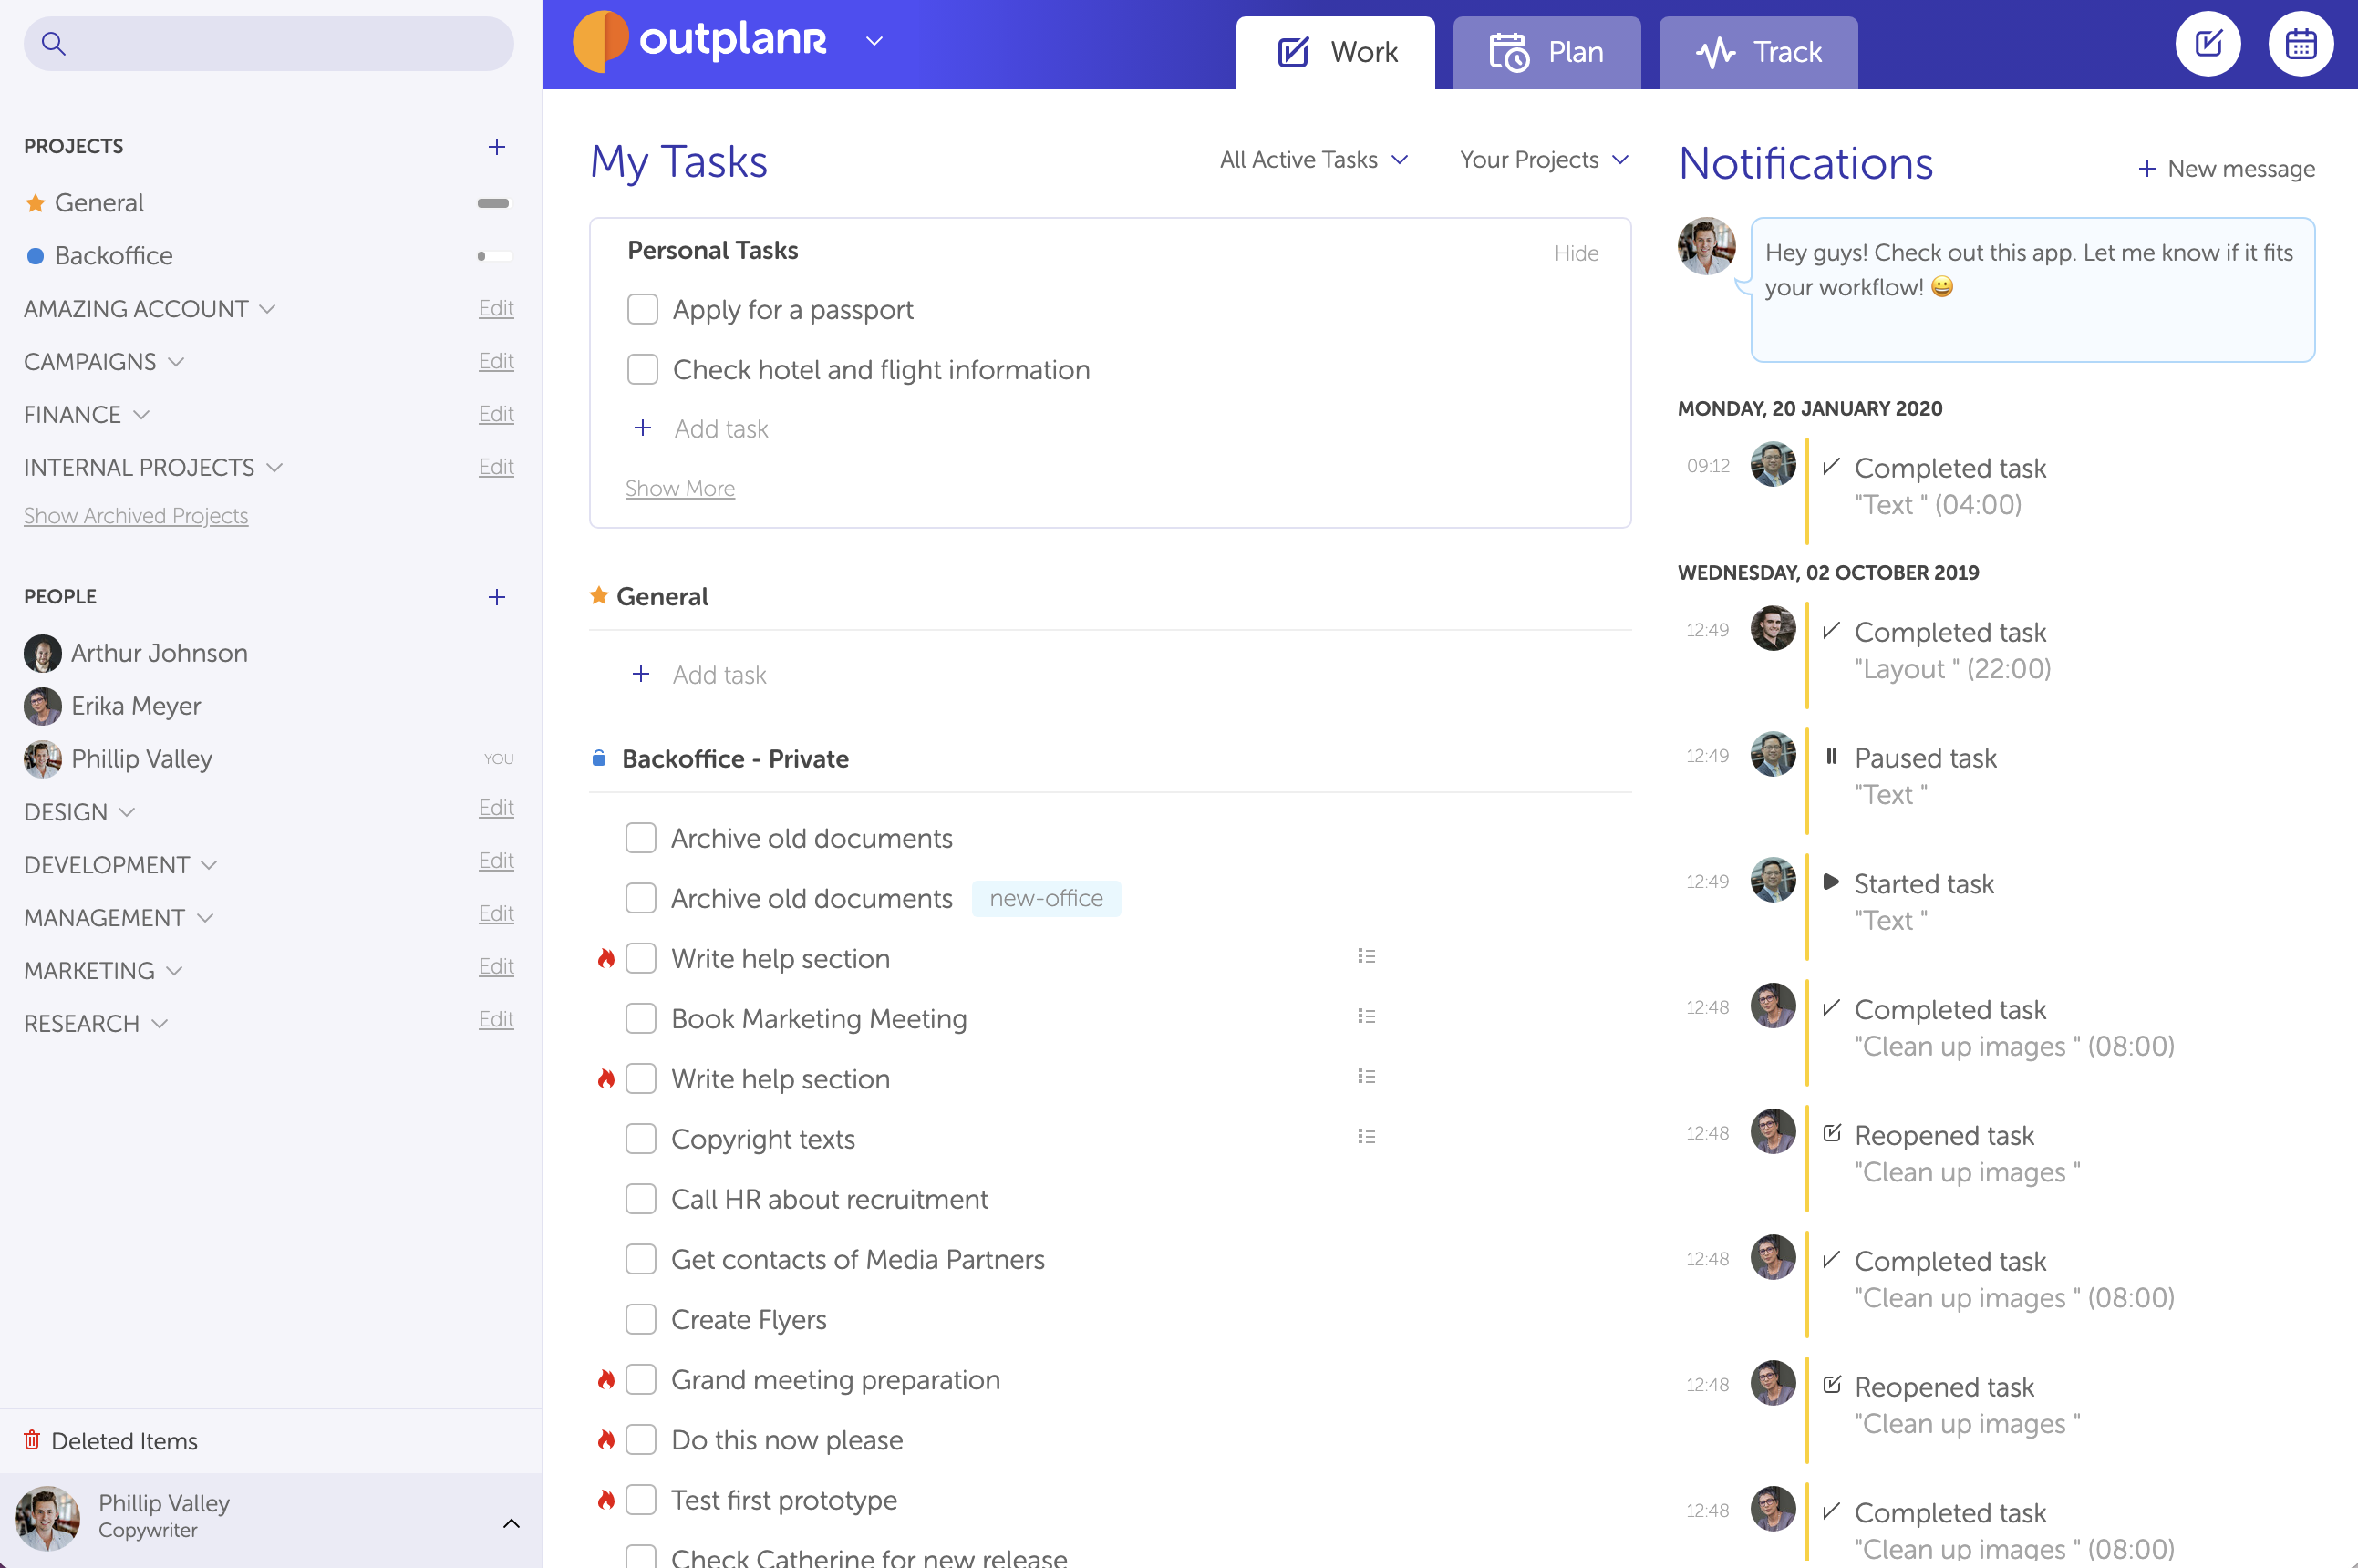
1) Work
This is where your tasks are. You can filter the view to show only tasks with start date for today, or see all tasks across projects, as well as create new tasks for you. In this view you will also get notifications such as new tasks and events assigned to you, activity from tasks you follow, or company notifications.
Read more about the Work View.
2) Plan
This view shows how busy everyone is across projects, week by week. With this view you can plan work for people that work in several projects, and see how busy they are. You can also create events for important milestones and project meetings, and synchronise each project event calendar with your favourite calendar application.
Read more about the Plan View.

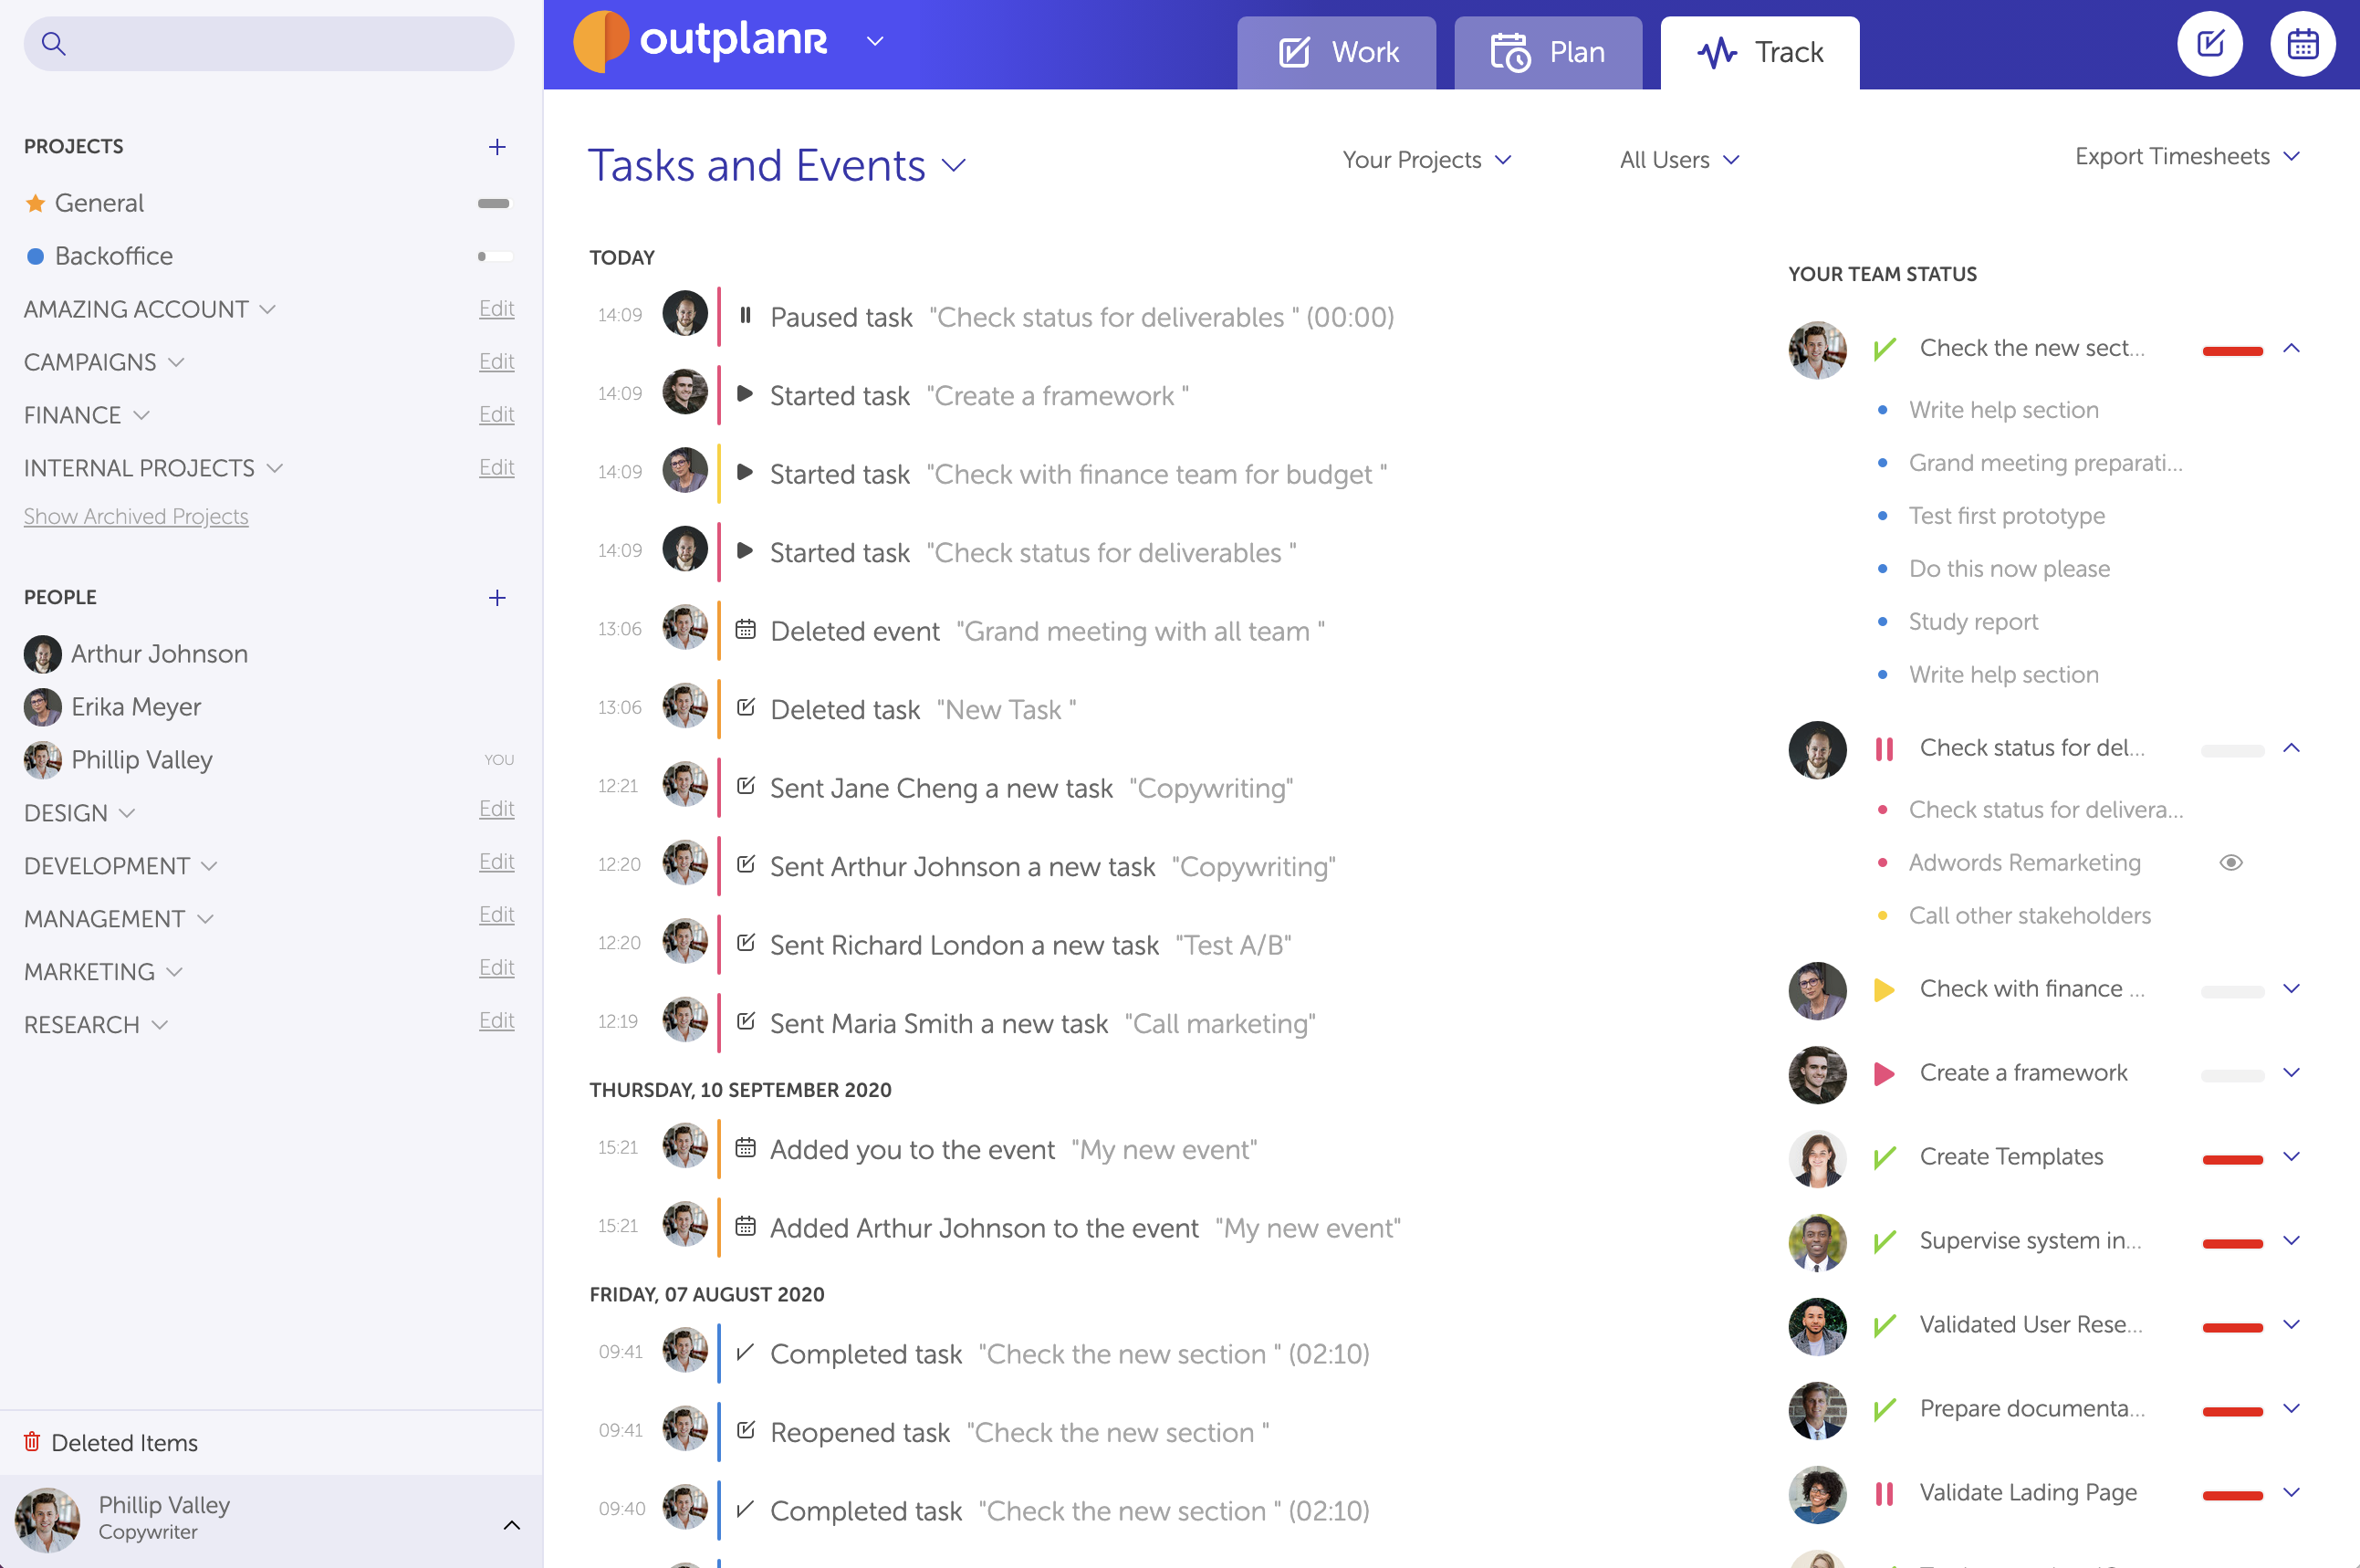
3) Track
This view is where you can glimpse the whole company activity, across projects and users. All tasks start, pause, complete and check-outs will be logged and shown with their dates and times recorded. You can see the whole team status or filter by user to get a focused report.
Read more about the Track View.
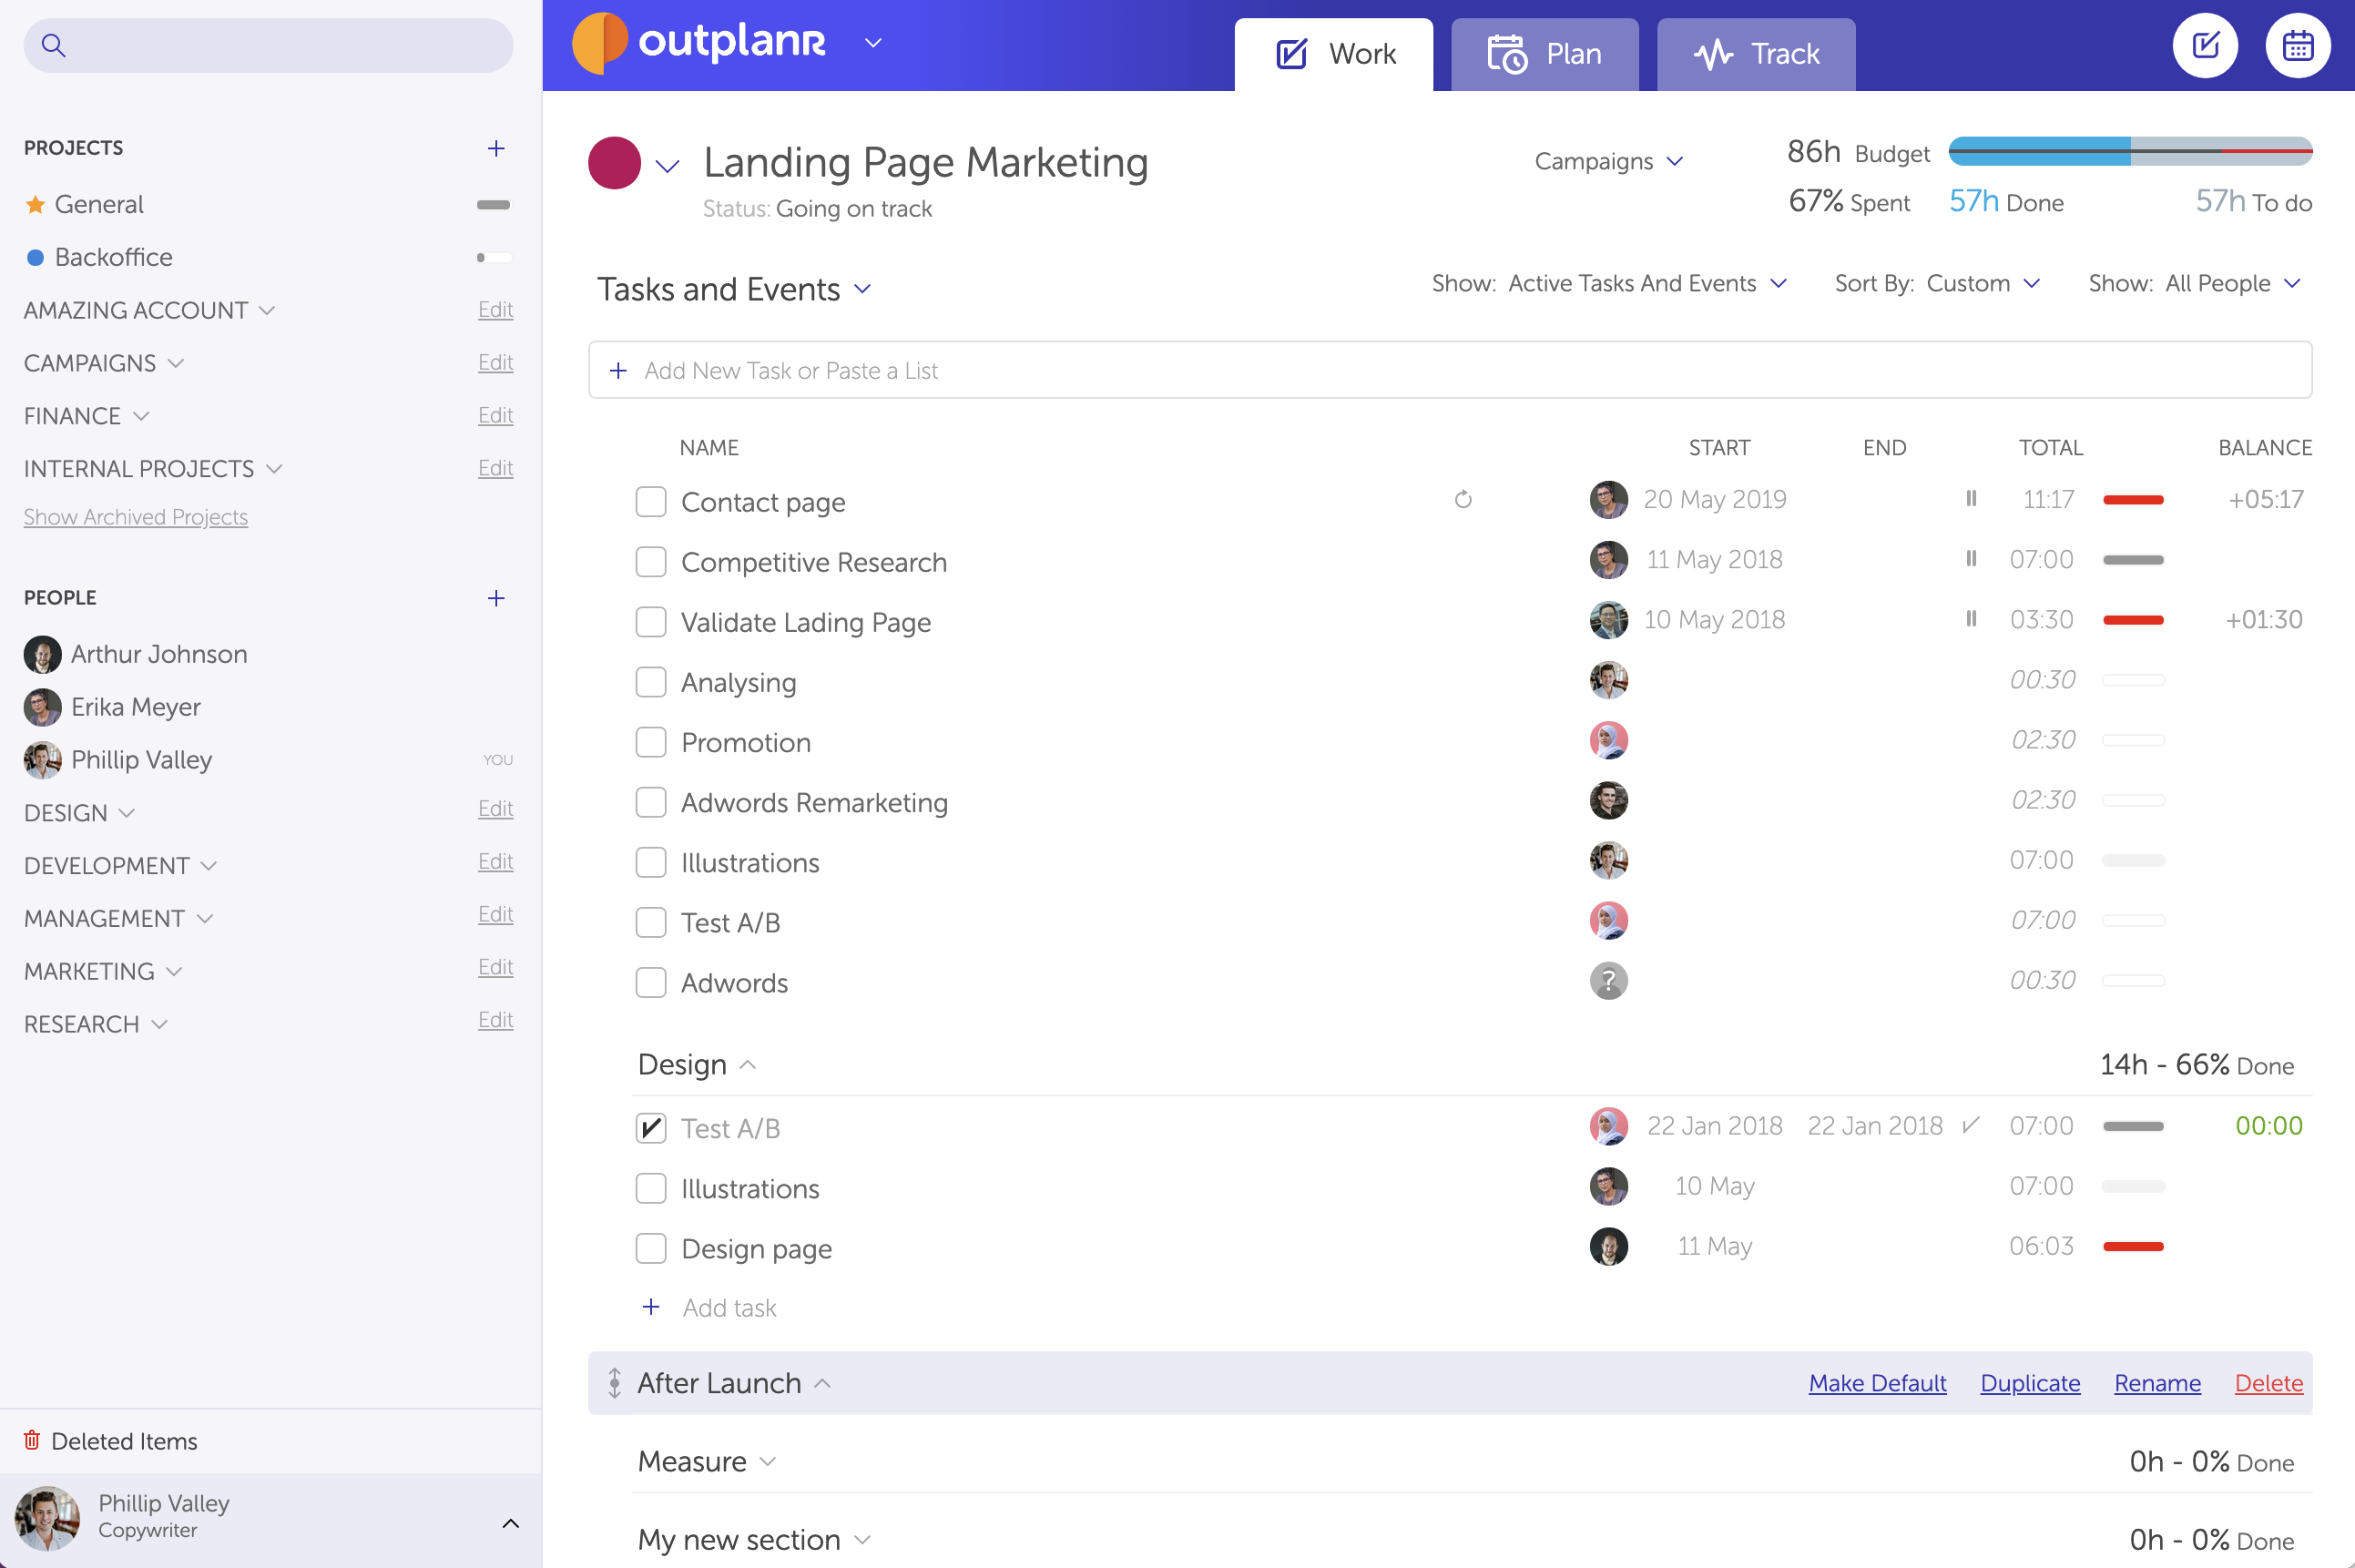
4) Project Details
Projects are listed on the left-hand menu. You can access to each project details by clicking on its name, and will get all tasks and events associated to that project, and all info associated to each task and event, namely who is assigned, the start date, the deadline, status, time logged. This info is summed up on the top-right corner with the project total times and percentage of completion.
Read more about the Project Details view.
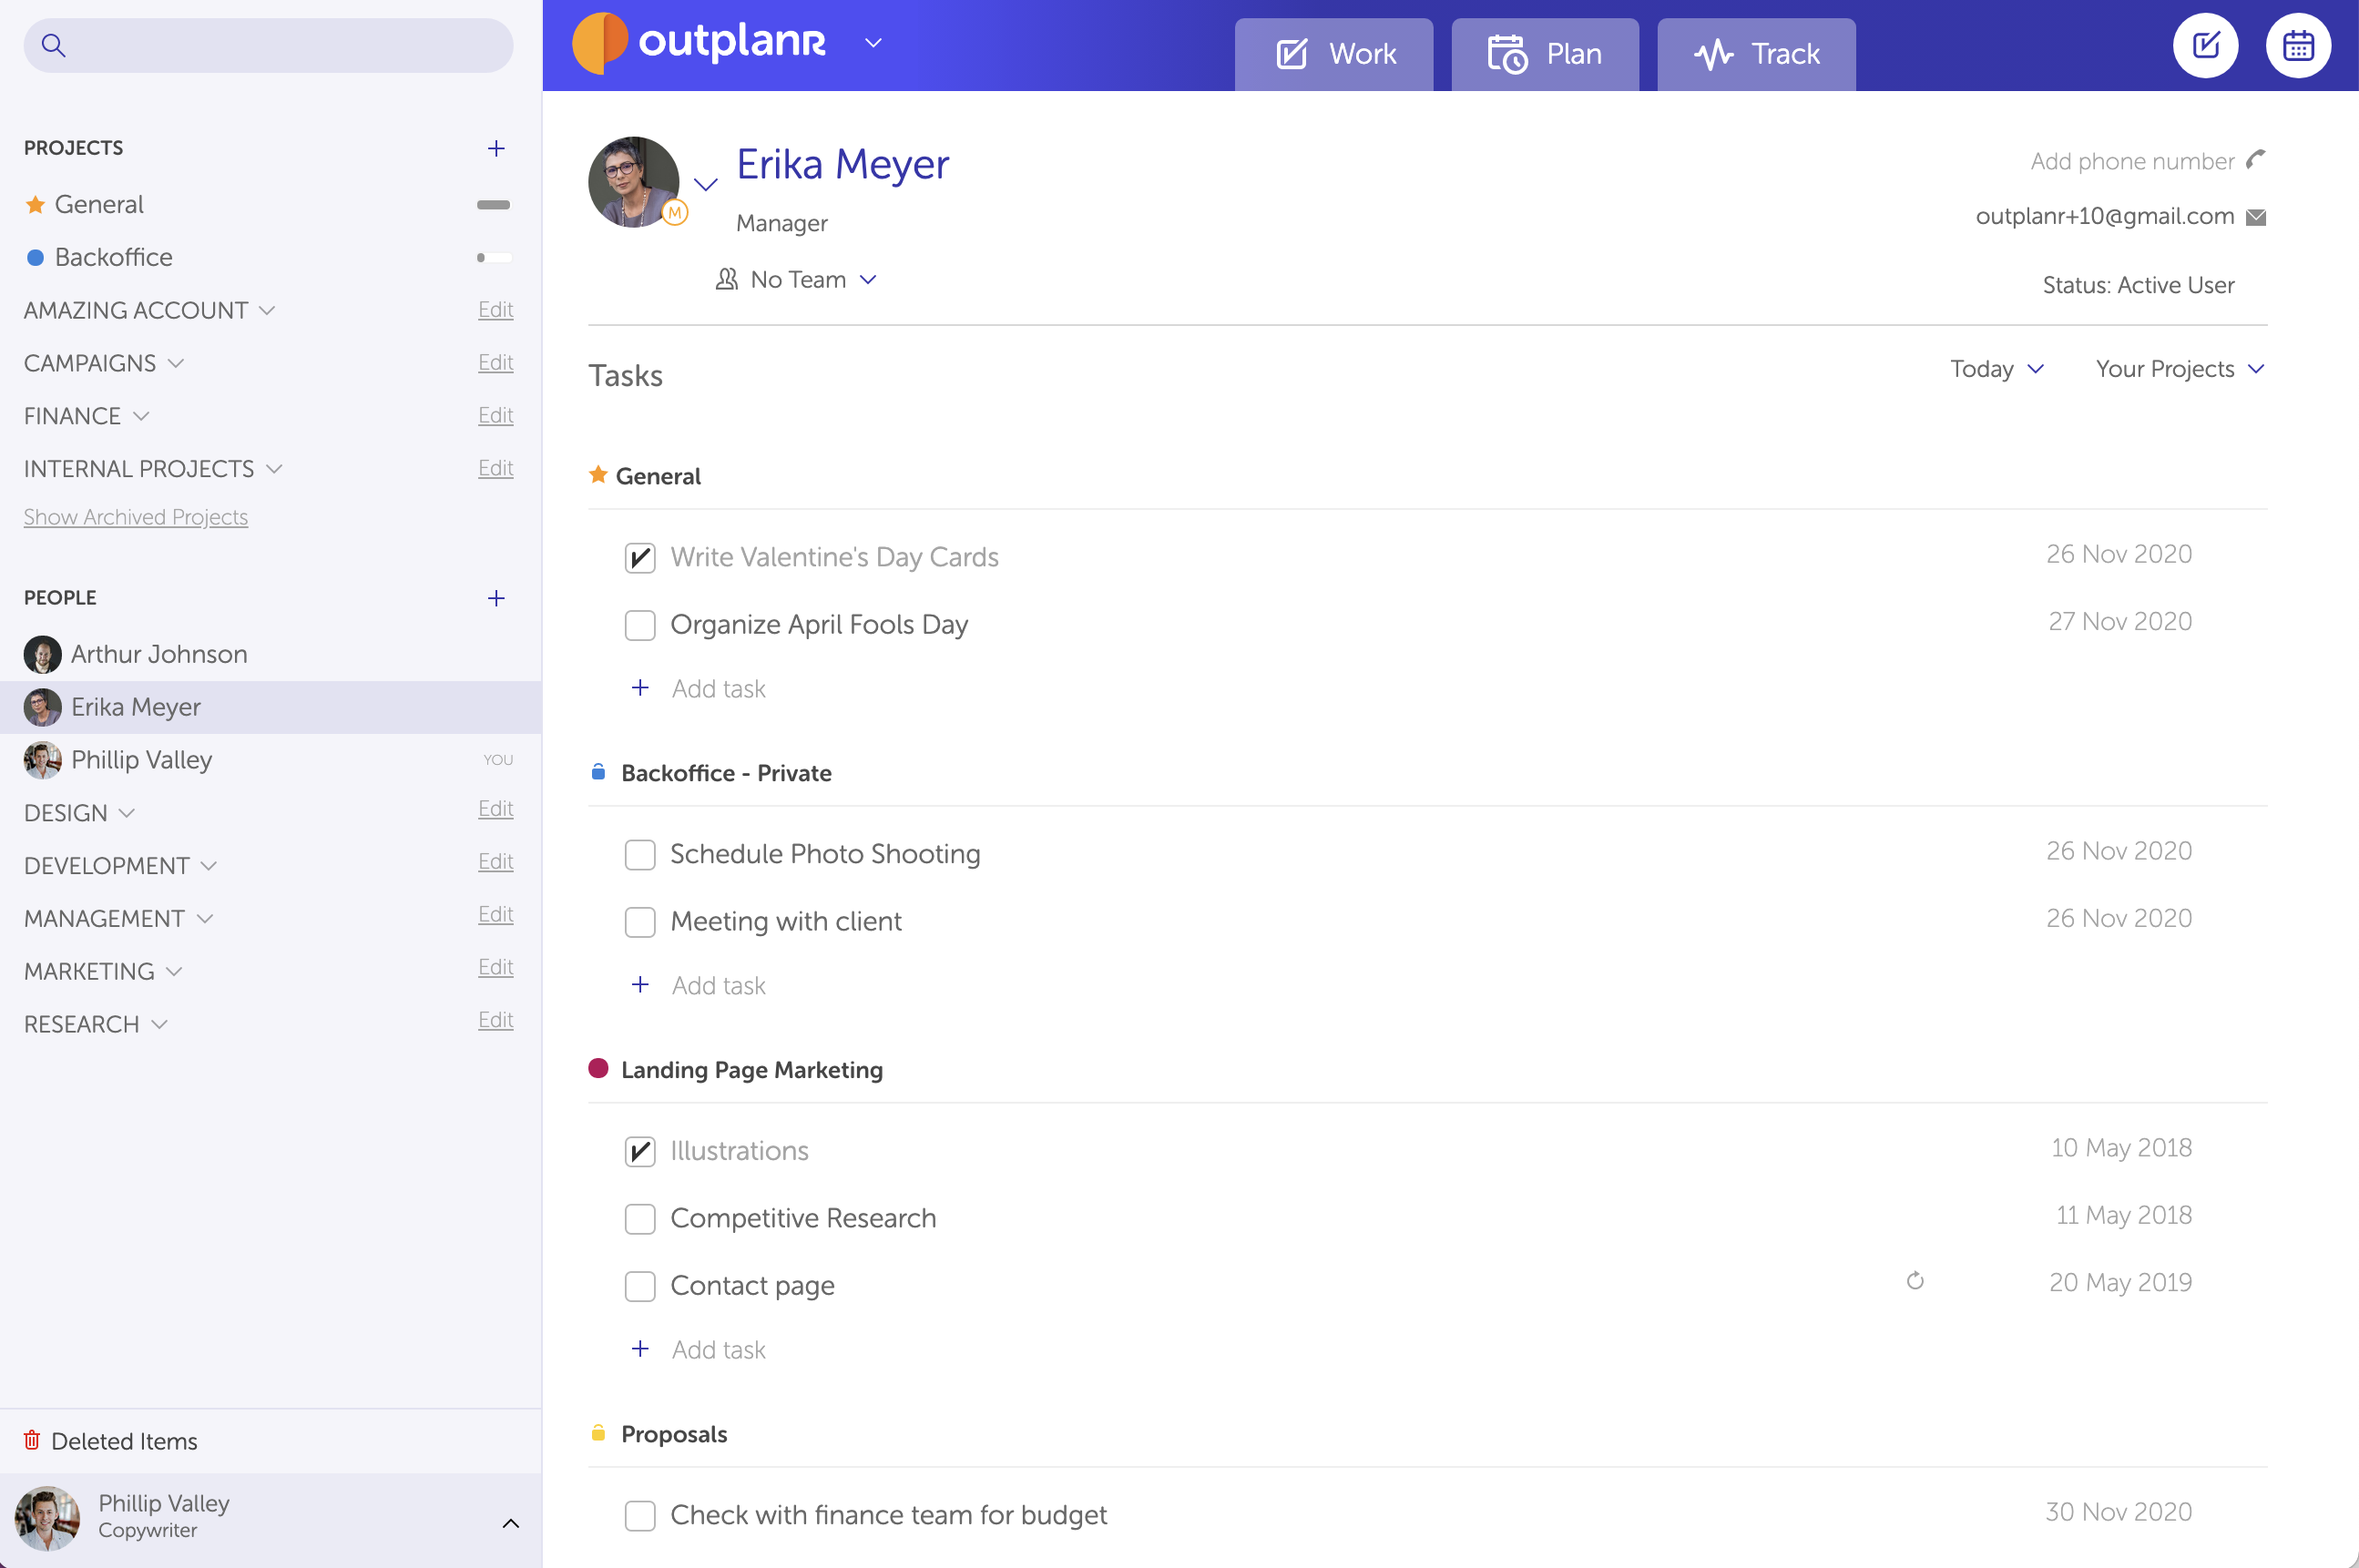
5) People Details
You can see each team member details and task lists at their User Details, on the left-hand menu. Here you can quickly check what they have to do across projects and add new tasks.
Read more about the People Details view.
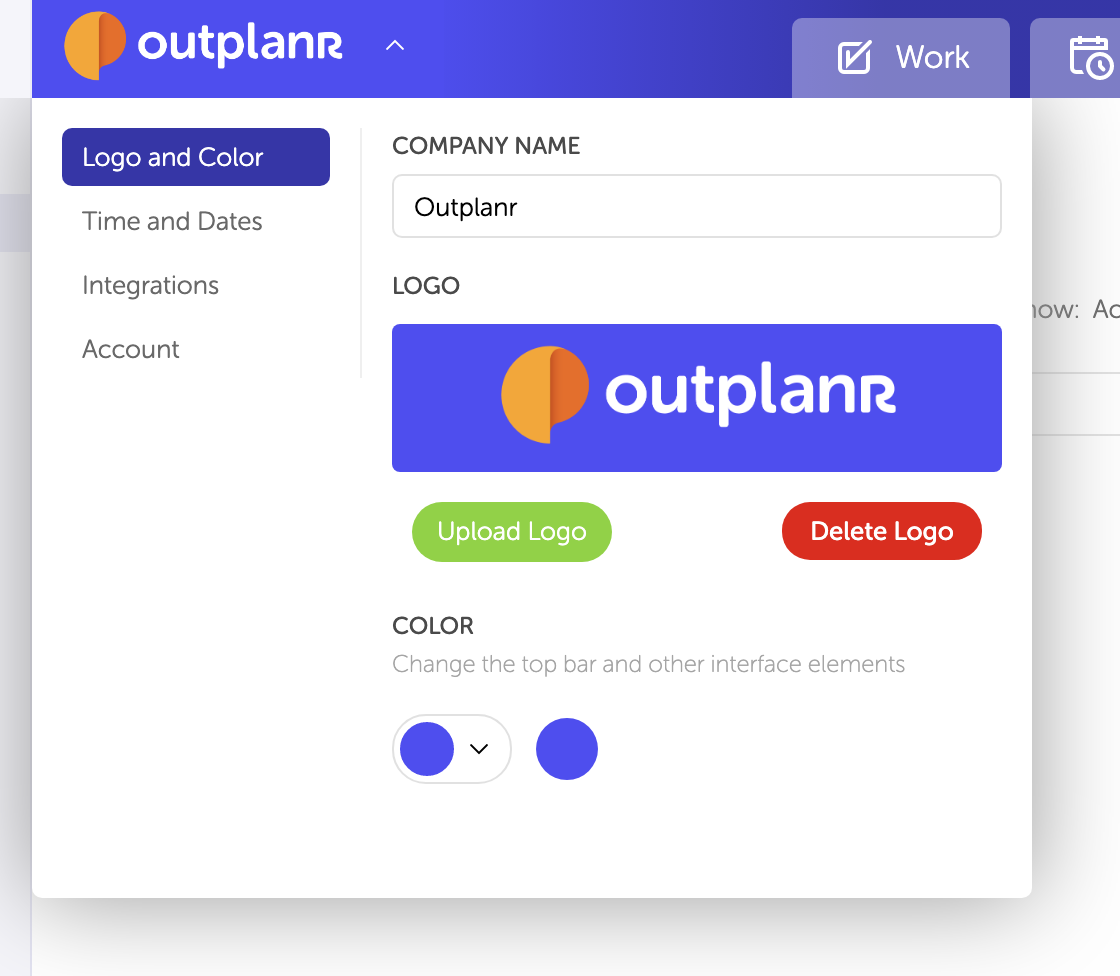
6) Company Settings
The Company Settings is the central console of your Outplanr account. To access to the settings panel, head to the Company name or logo on the top-left corner of your screen. These options are available only to Users with Administrator and Manager permission levels.
Read more about the Company Settings panel.
7) Personal Settings
You can edit all your user details in the User Settings panel, located right next to your photo on the top-left corner.
Read more about the Personal Settings panel.

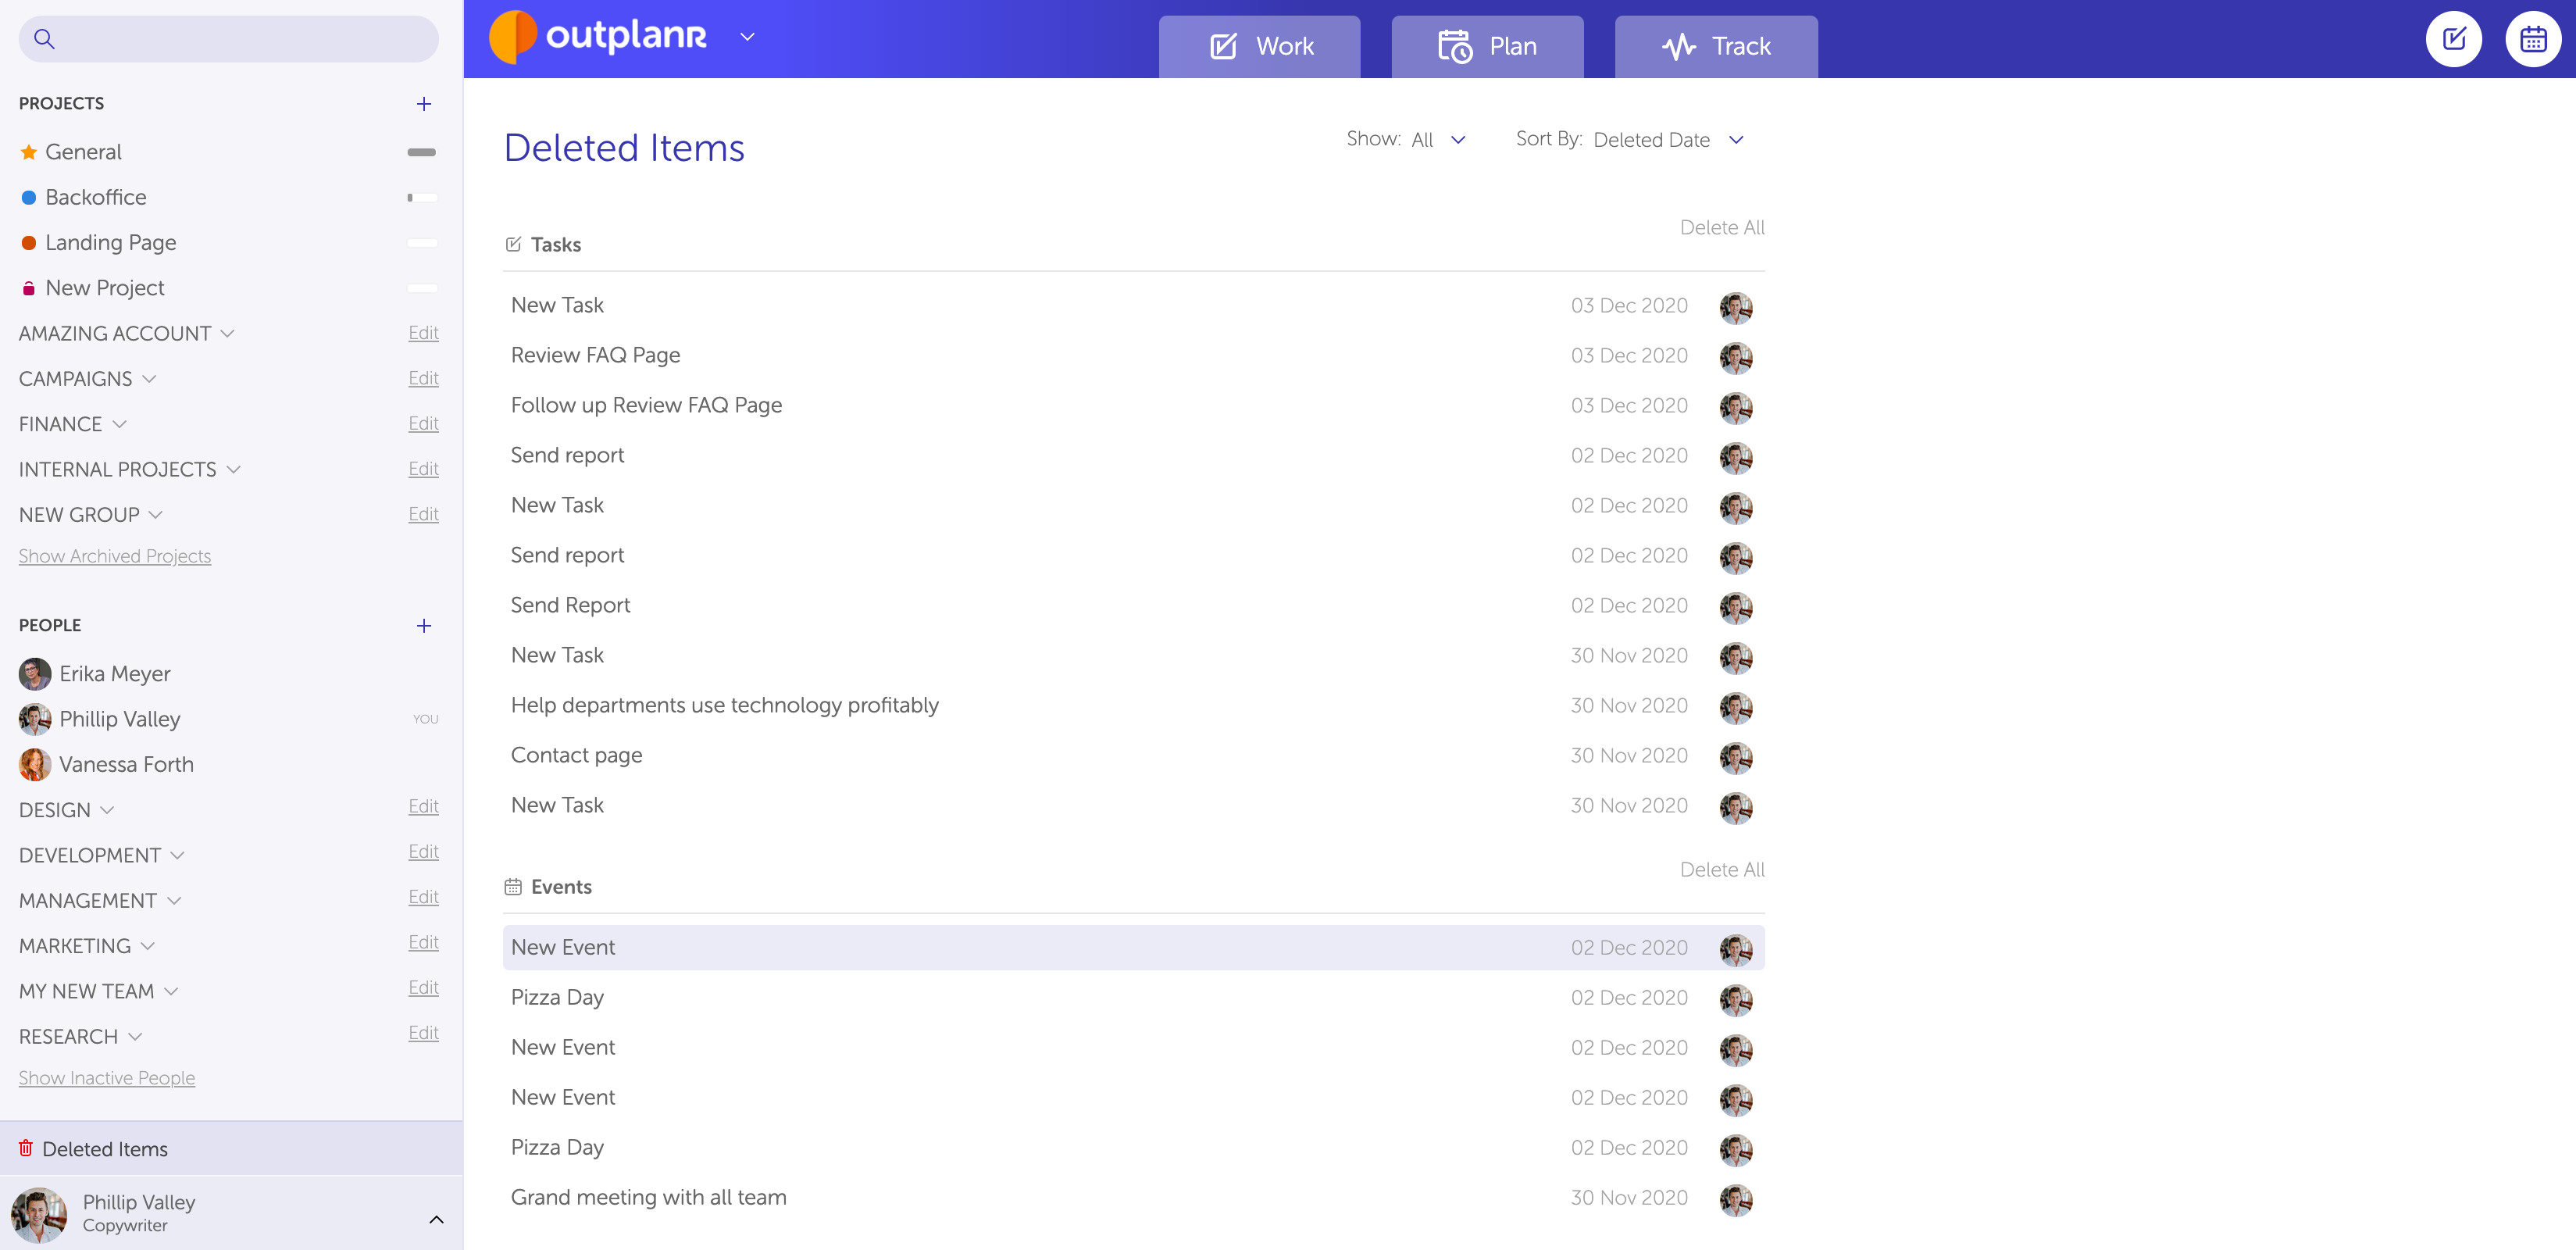
8) Deleted Items
This section, on the bottom-left of your screen, is where all deleted items go, waiting to be discarded forever or recovered to their previous state.
Read more about the Deleted Items screen.