Invite People to Your Account
To get your colleagues onboard, you need to have Administrator or Manager permission levels to invite them to your account.
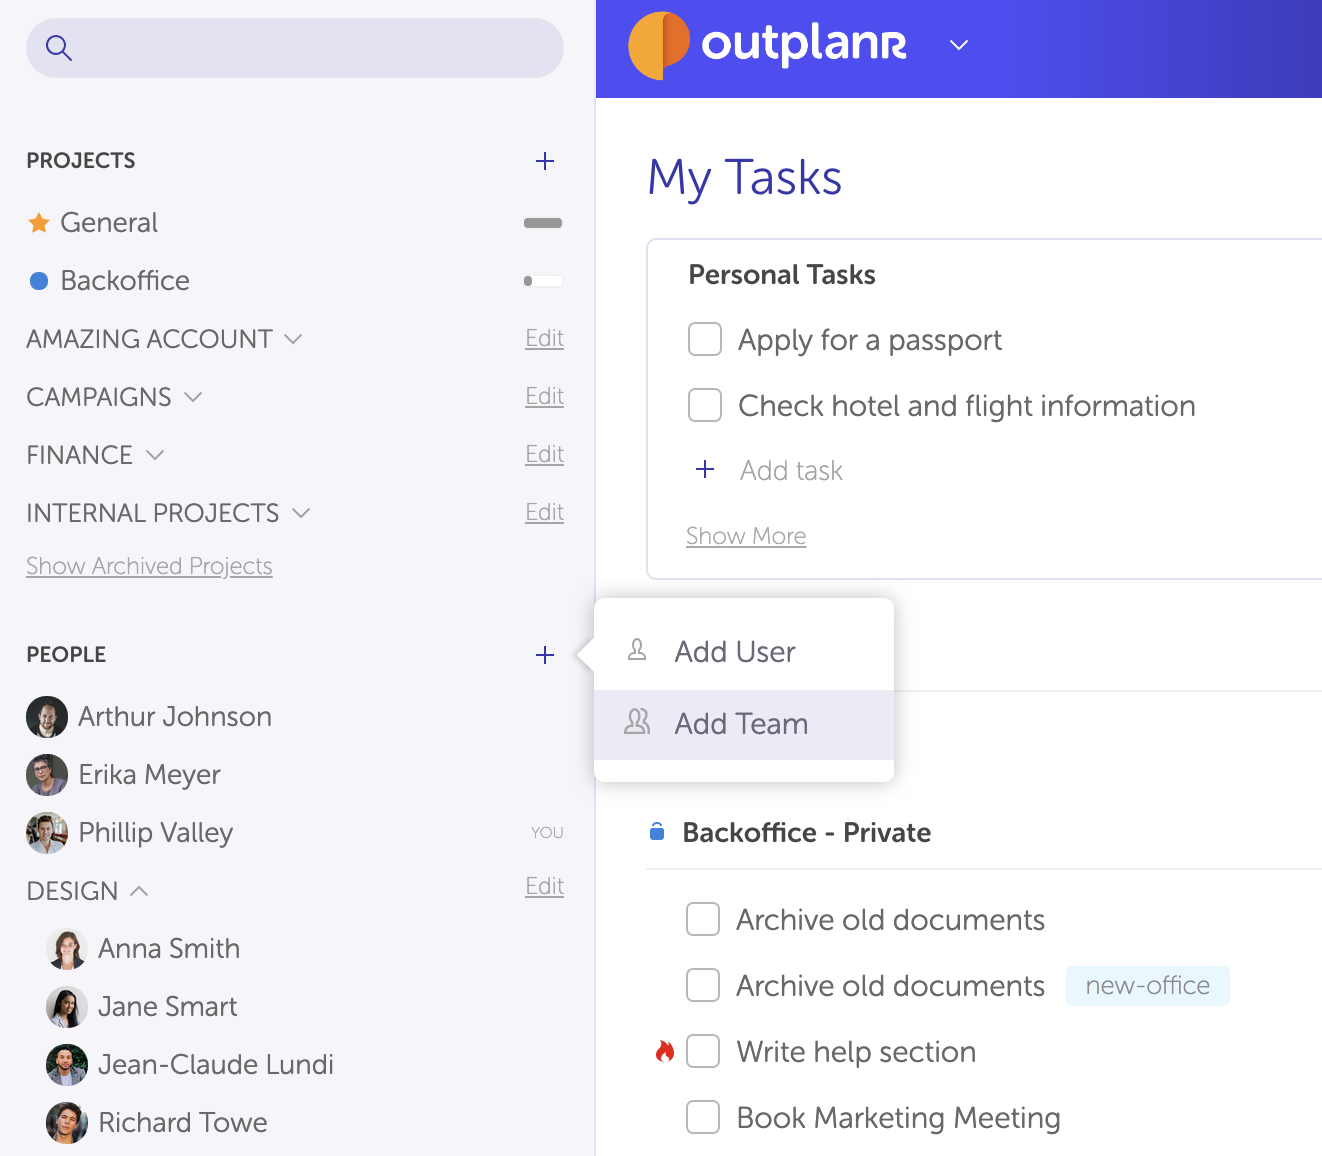
To add a new User, click on the "+" button" on the left-hand menu, next to the "People" title.
Here you'll be able to invite a new person to your Outplanr account, or create a Team of people to assign specific projects. For now we're going to pick "Add User".
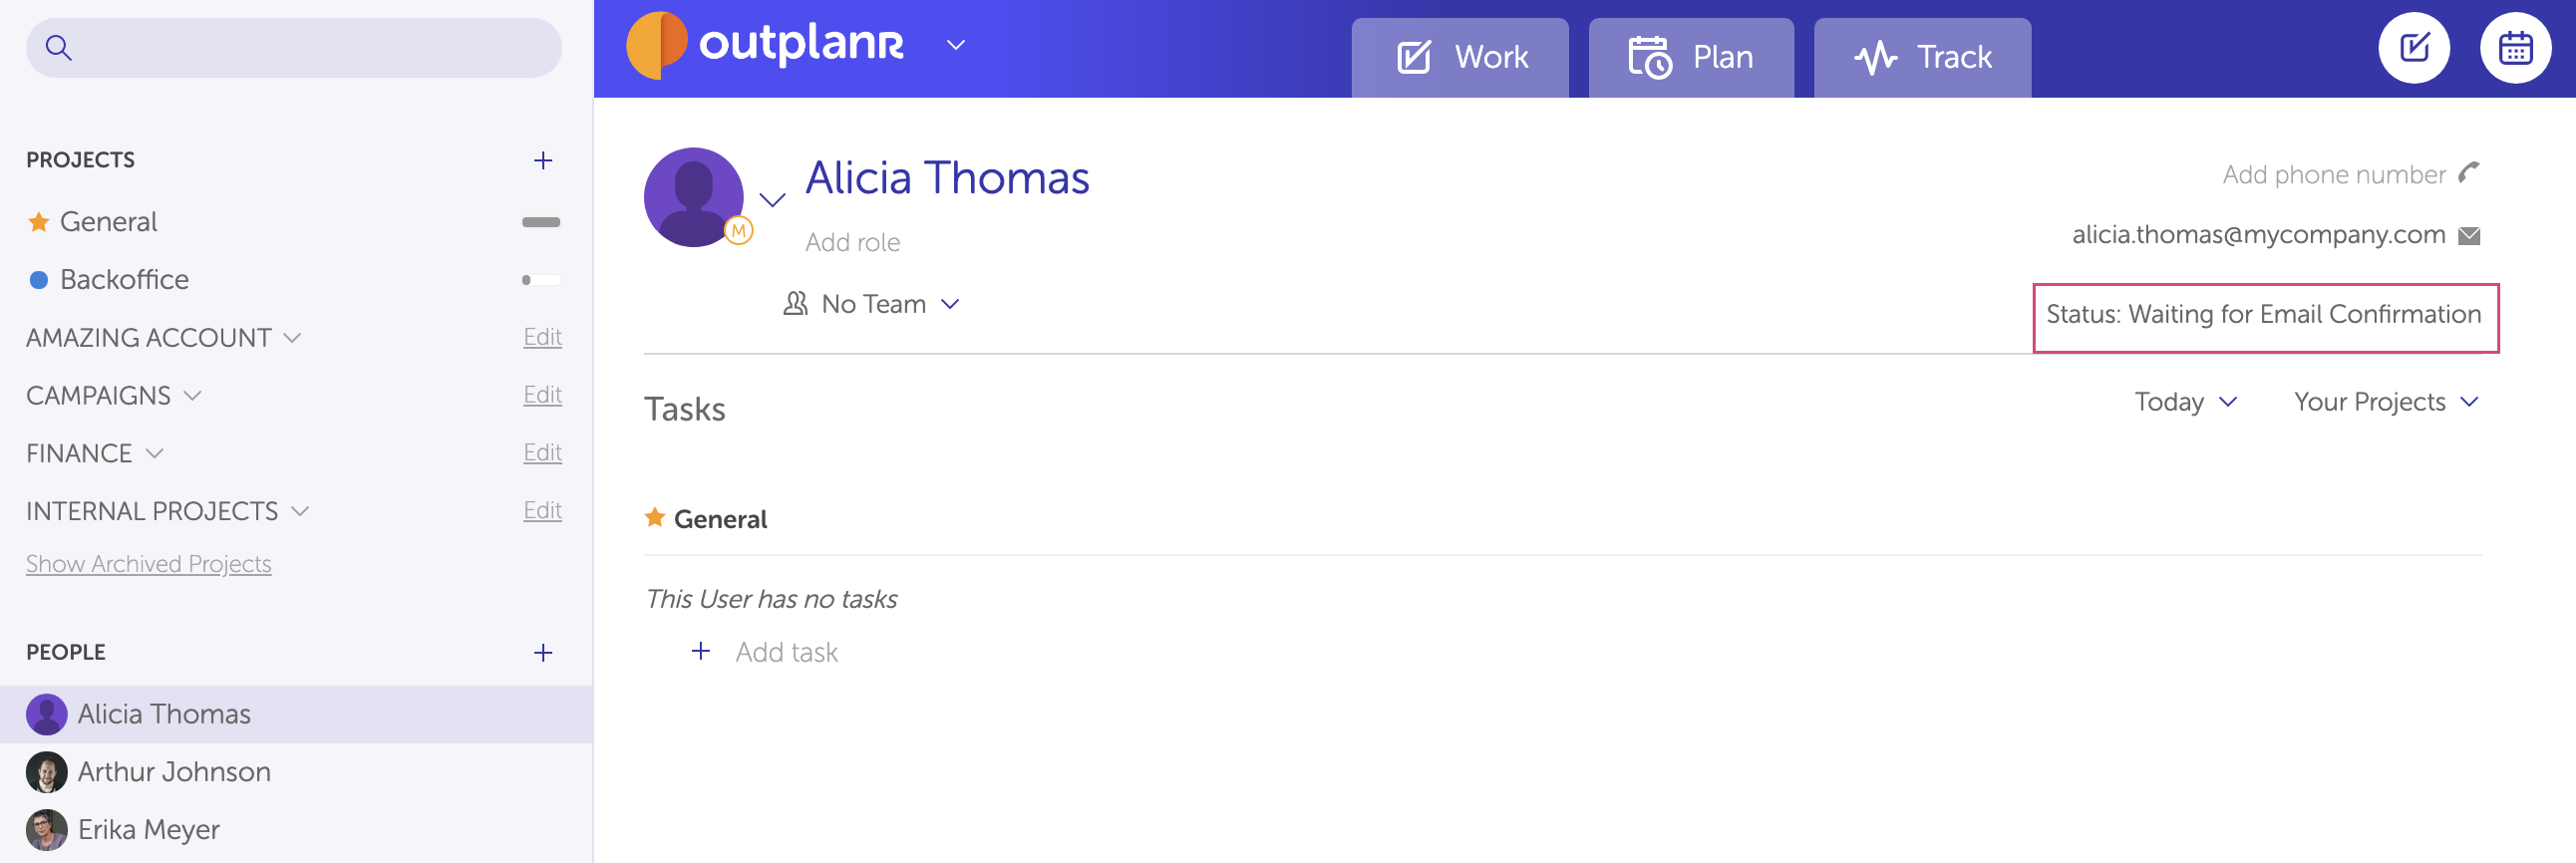
You'll be taken to the new person details screen, where you can add their name and more details to your team member, including the email address to send the proper invitation.

After inviting a new team member, you'll be able to see the status of your invitation.
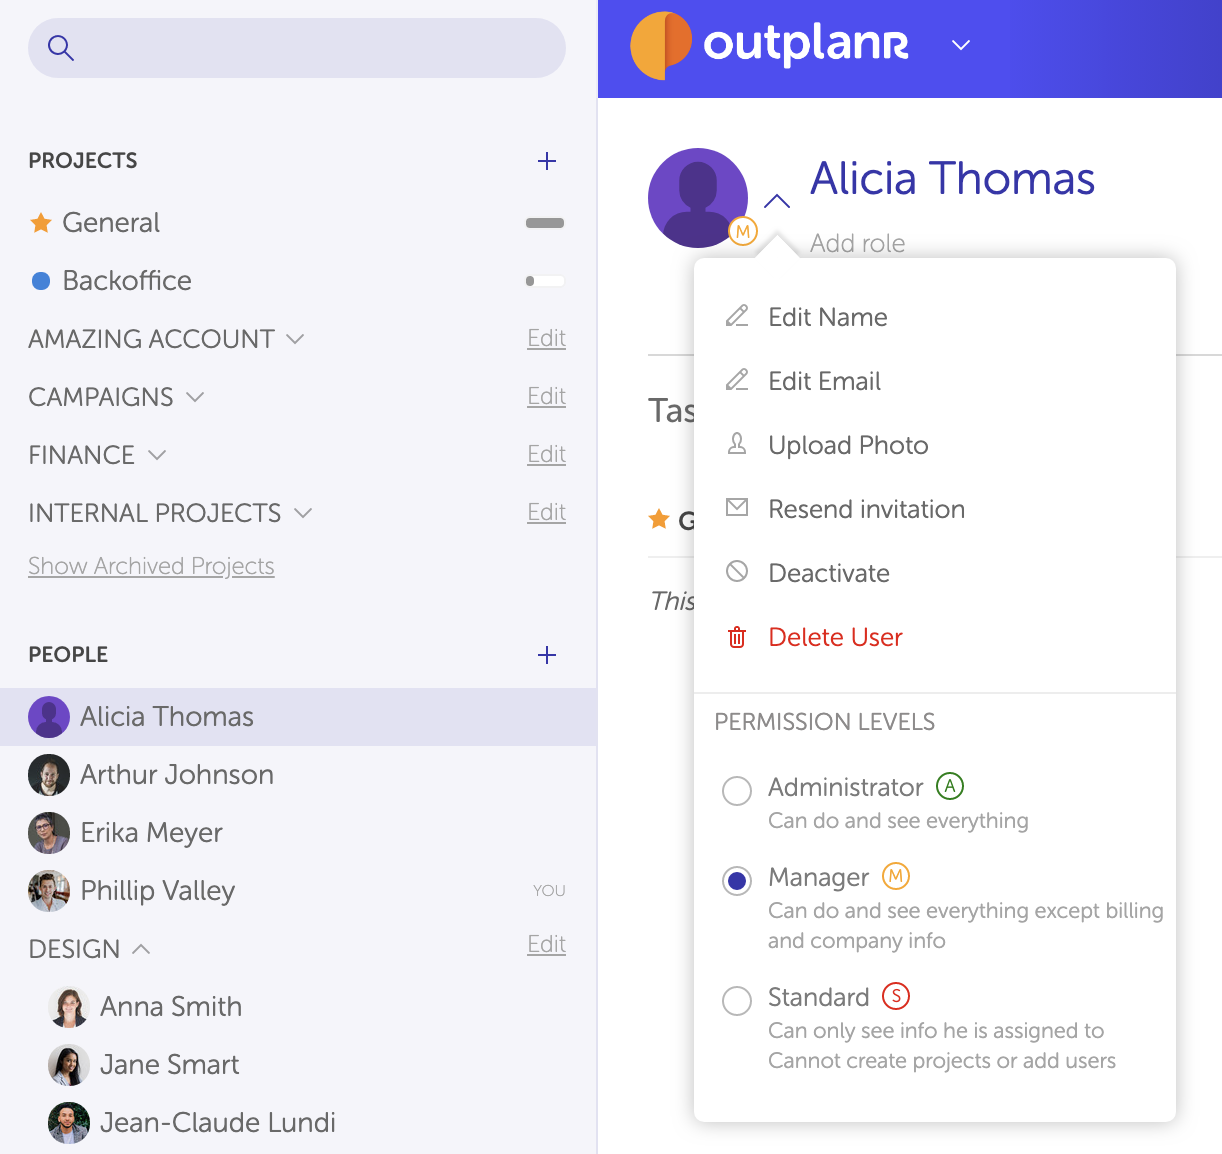
You can invite all your team mates in, one by one. To edit your new user you just need to click on the editing menu, right next to the person's photo. You'll be able to edit:
- - Name;
- - Email address;
- - Upload a photo;
- - Resend the email invitation to join the Outplanr account;
- - Deactivate the user (so they can no longer login, while keeping their task records safe);
- - Delete the user.
- - Set the user permission level. By default, a new user is added as "Manager".
You can get more info on how permission levels work in this article on User Permissions.
Check out this quick demo on how to invite people to your Outplanr account:
You can also organize your users in Teams and state exactly which Projects they get access to, and which they don't (handy for external guests as well).
Just head to the same "+" button on the left-hand menu, and select "Add Team".
For more info on how Teams work, check out this article on organising people in teams.
For more info on how to add users please check this article.