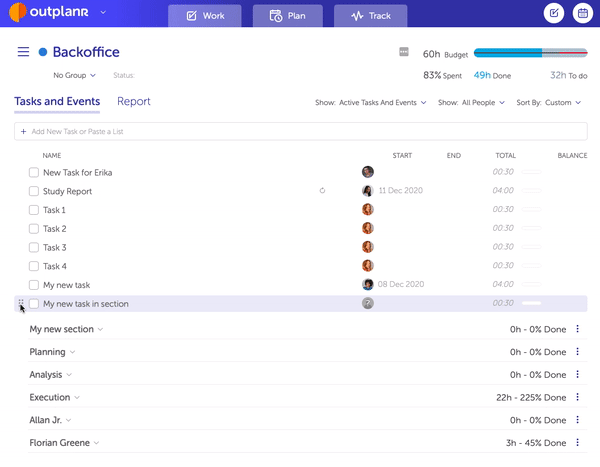
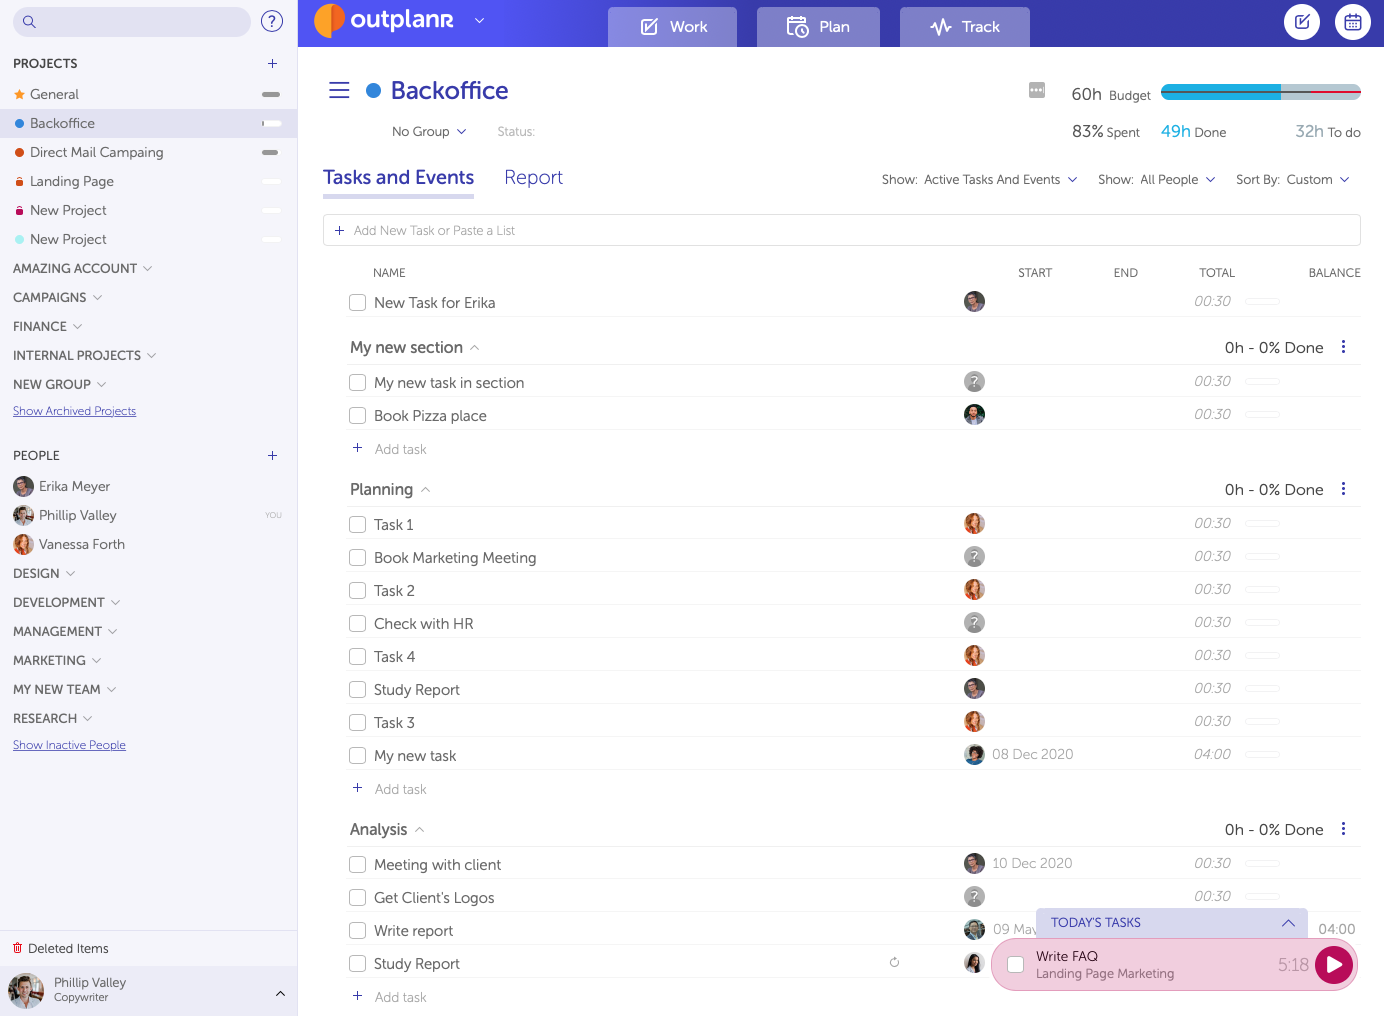
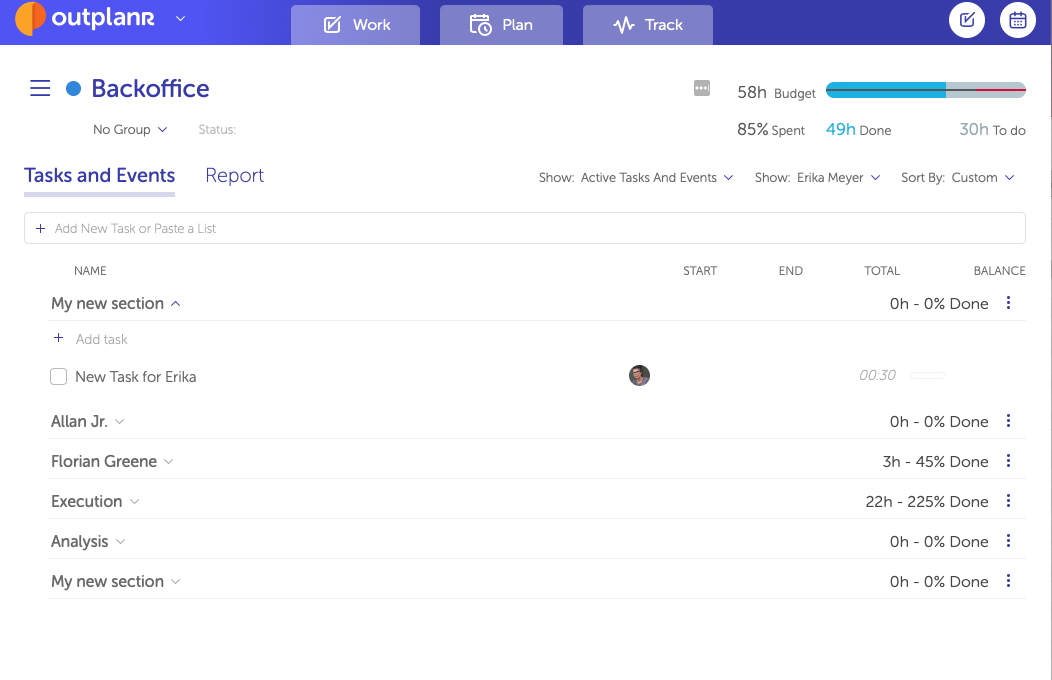
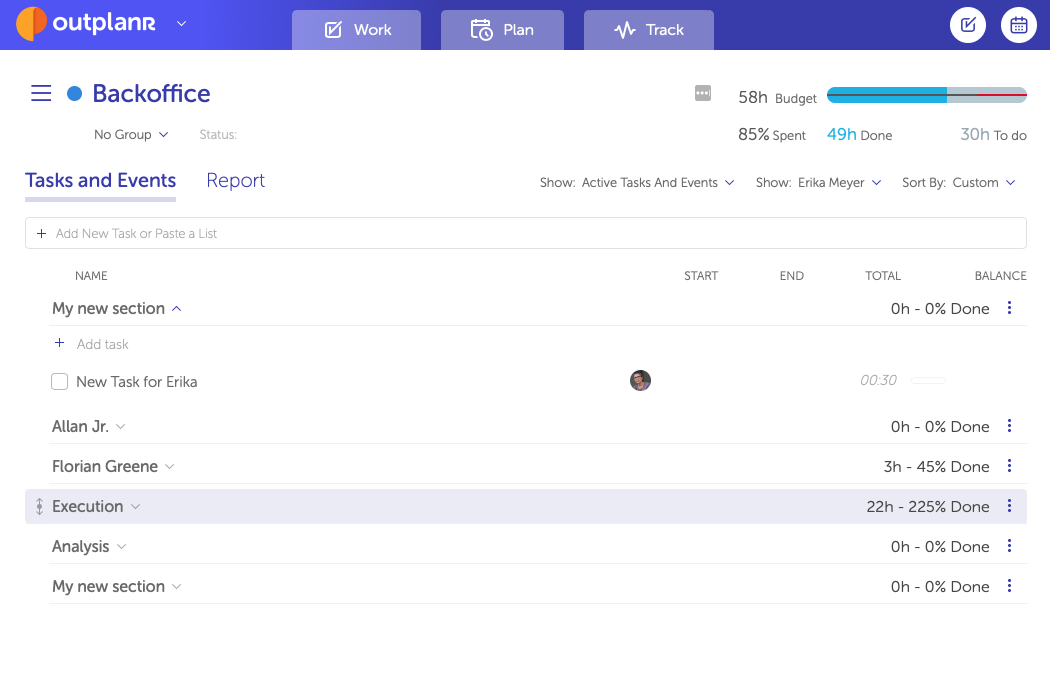
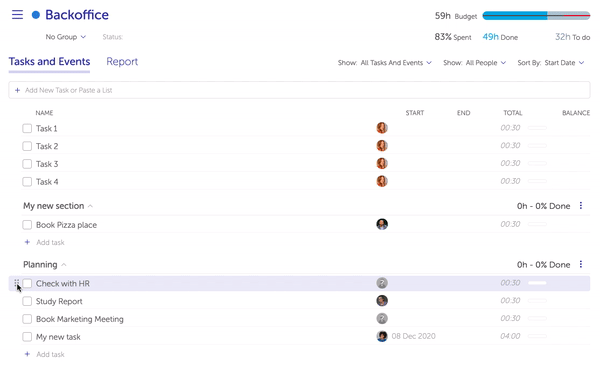
Add Sections to organize your Project
You can break your Project task list with sections, helping organize all tasks and events within the Project.
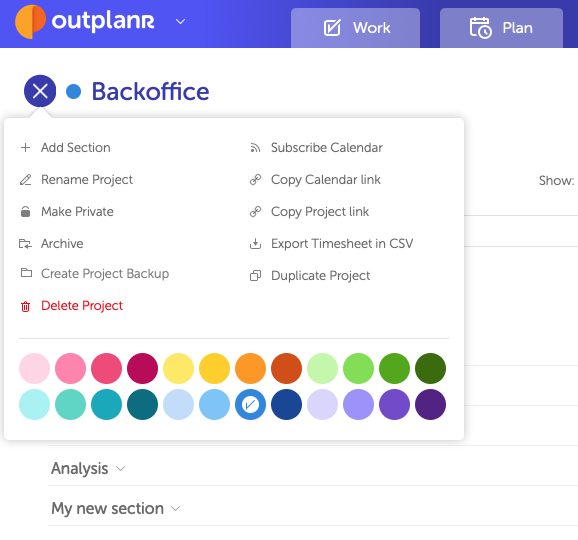
To add a new section, just head to the Project menu and select "Add Section".
You'll be able to write the section name and save it by pressing "enter" on your keyboard. When you reload the Project page, the section will move to the end of the task list.
To change the sections' order, move your mouse to the left side of the section name, and you'll be able to drag the section and all tasks included up and down the Project list. Please note that you cannot split the tasks without section, so the first section will always be positioned after the tasks and events without a section.
To add tasks to the section you can either:
- Create new tasks within the section, like in the Work view, by clicking on the "Add task" link;
- Drag and drop tasks from the main area or from other section into the new section, and move them up and down to order.
You can edit the Section name or delete it anytime. To do so, open the three dots menu on the section name and select the options "Rename" or "Delete".
Also, you can duplicate a section. This will duplicate all tasks and events that you have there.
And you can make the section default, so every task created in the project will show up there.
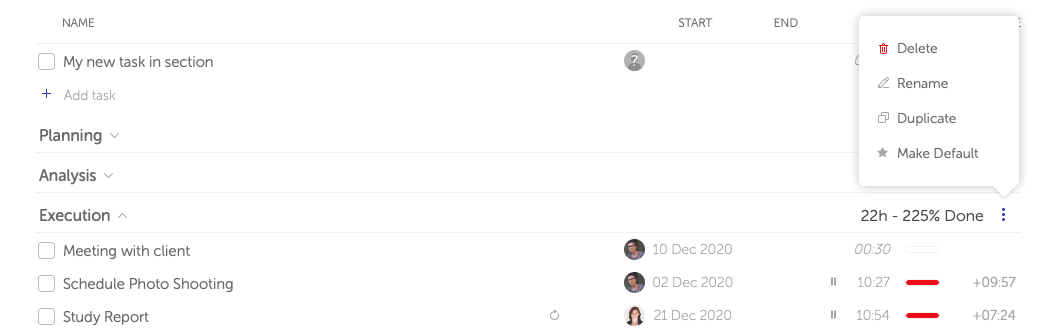
Clicking on Rename will allow changing the section name. Deleting the section will delete it forever, and move its contents to the main project area, without sections, or delete them as well.
To move tasks to sections or between sections, you can drag-and-drop them as well. Here's how this works: